Did you ever wonder how to connect GoDaddy domain to WordPress or your chosen web hosting? In today’s digital age, having a strong online presence is essential for businesses and individuals alike. One of the first steps in establishing this presence is connecting your GoDaddy domain to your chosen platform, whether it’s WordPress or another web hosting service. This guide will walk you through the process of connecting your GoDaddy domain to WordPress or web hosting, ensuring a seamless transition to an online platform that represents your brand effectively.
How to Connect GoDaddy Domain to WordPress or Web Hosting

Have you ever wondered how to seamlessly link your GoDaddy domain to WordPress or with your chosen web hosting service? The process might appear quite difficult, but worry not, as we’ve got you covered. Whether you’re a seasoned website owner or just stepping into an online journey, understanding the process of connecting your GoDaddy domain to your web hosting is crucial for your online presence to flourish.
Step 1: Log in to Your GoDaddy Domain Portfolio
Begin by logging into your GoDaddy Domain Portfolio. Make sure you’ve got your credentials handy, as this is the first step to getting everything set up.
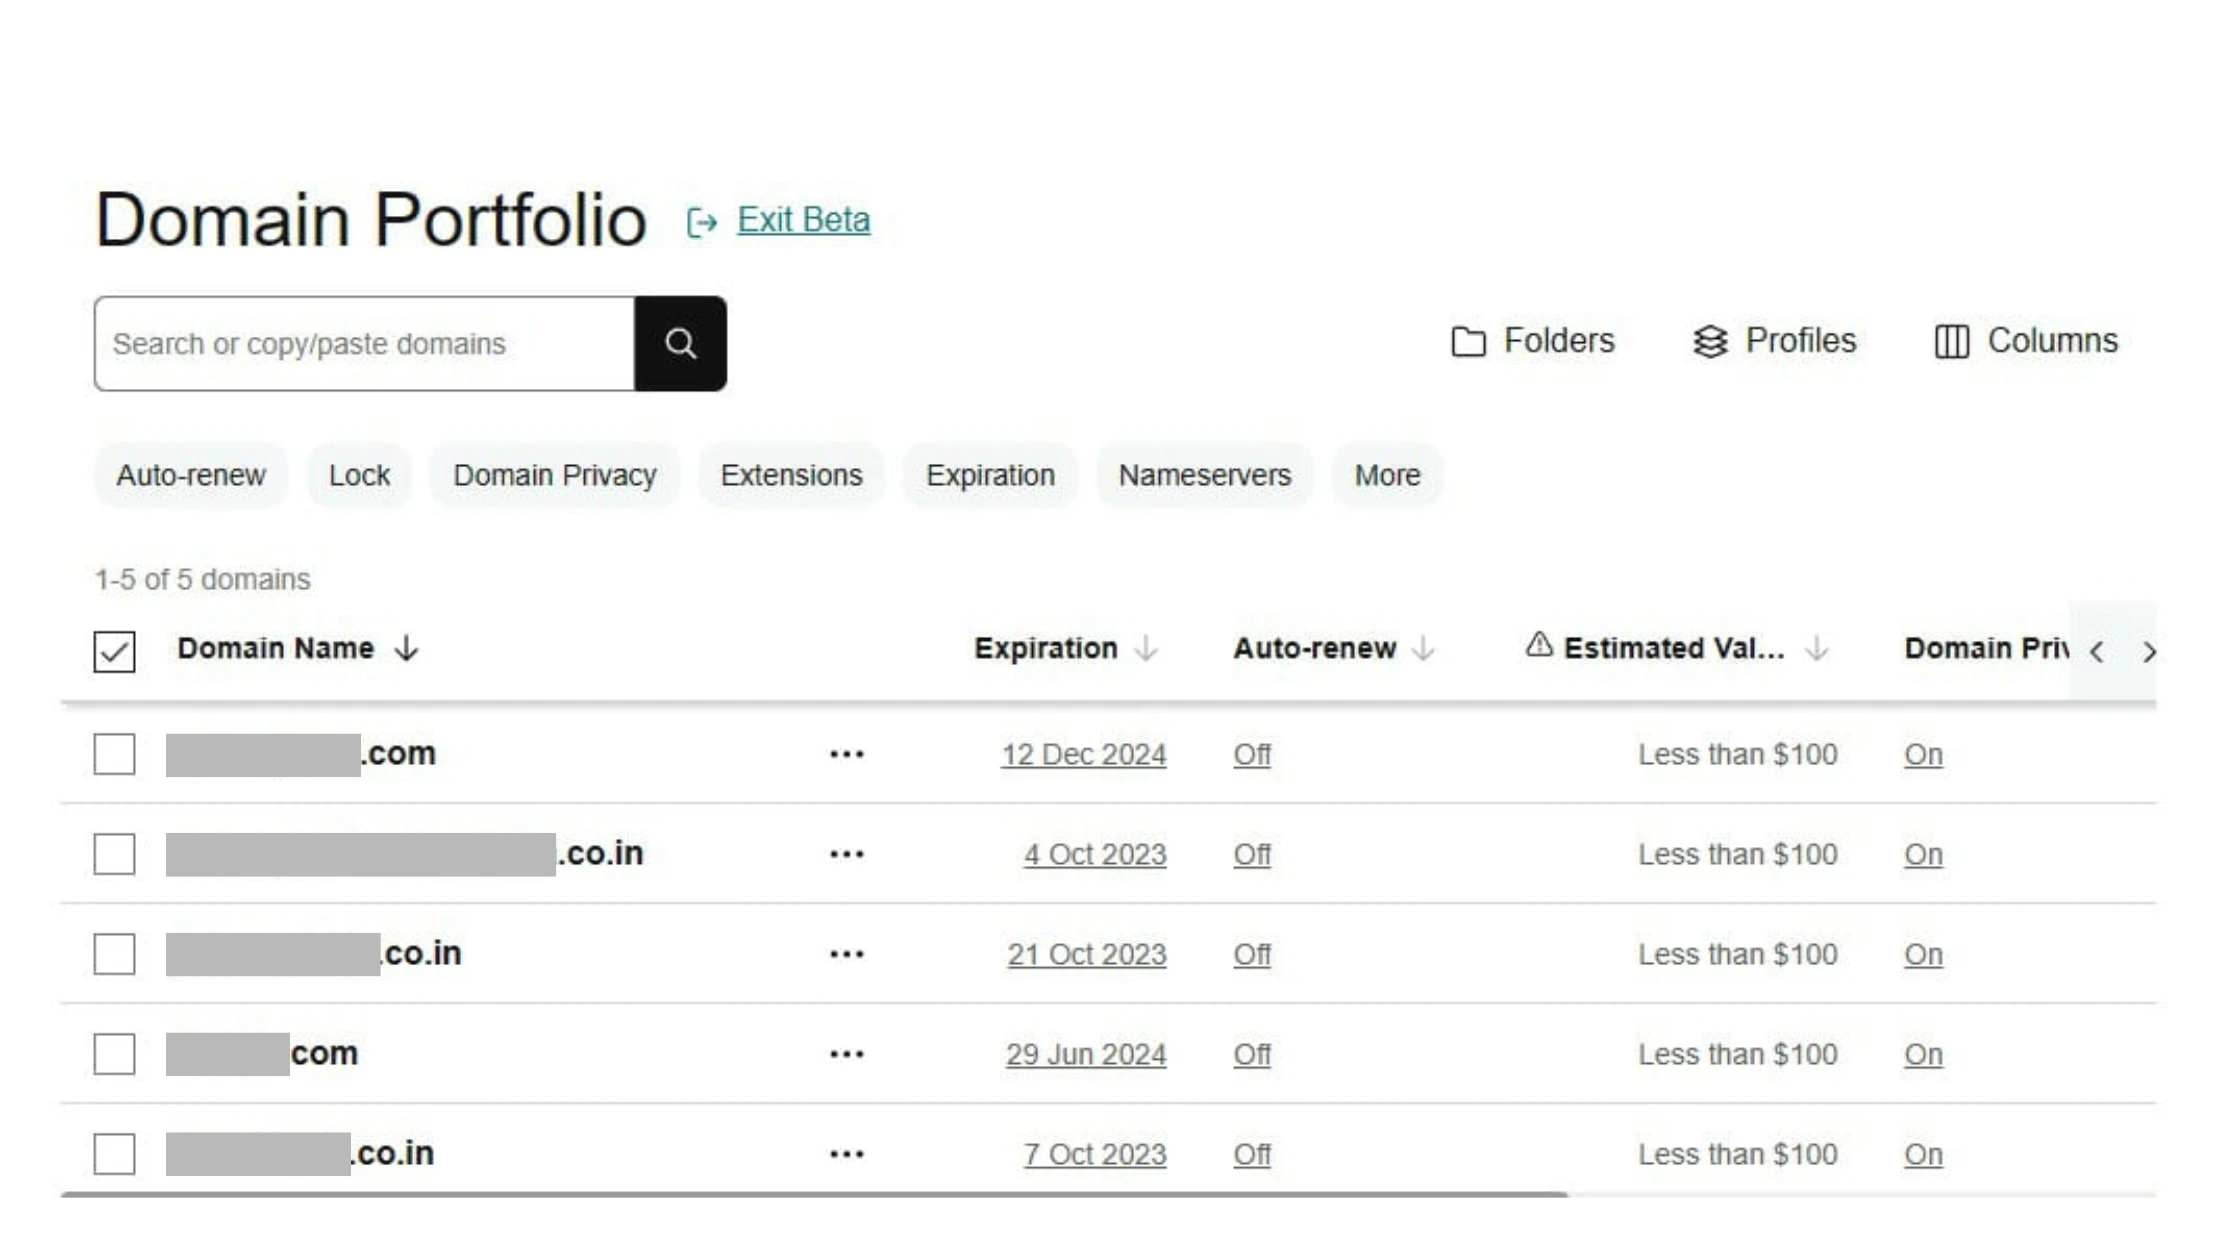
Step 2: Navigate to “Domains”
Once you’re in your domain portfolio account, you can see all the listed domain names you’ve already purchased.”
Step 3: Select Your Domain
Select the domain you want to link to your hosting account and select it. This is an important step, as you want to ensure you’re making changes to the right domain.
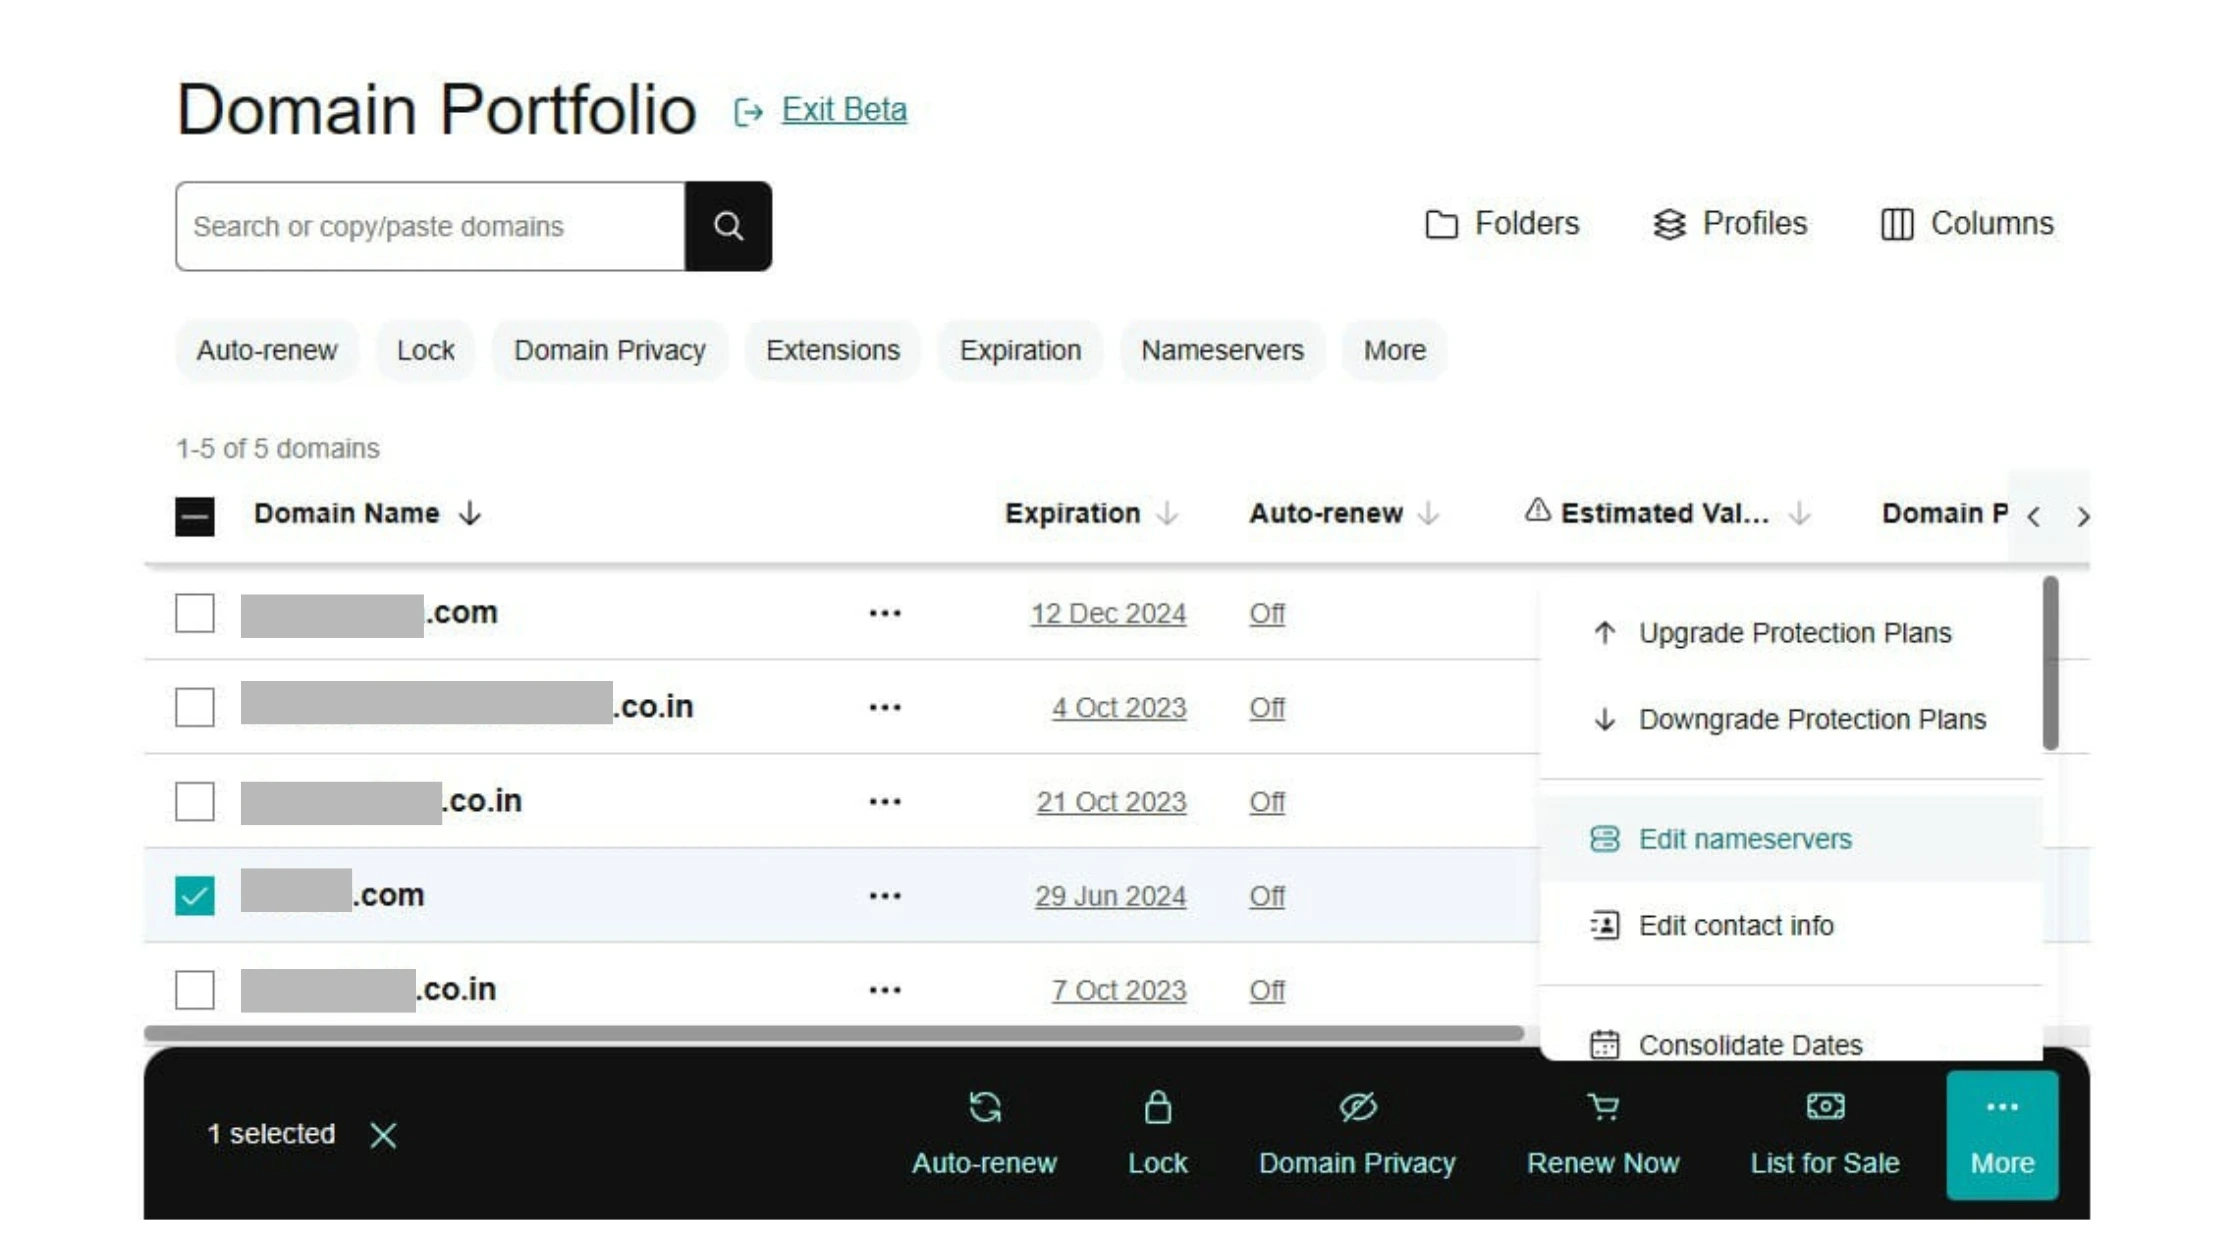
Step 4: Select “NameServer” Settings
After that depending on your device screen size, you may need to click the More menu & scroll down to see Nameservers options.
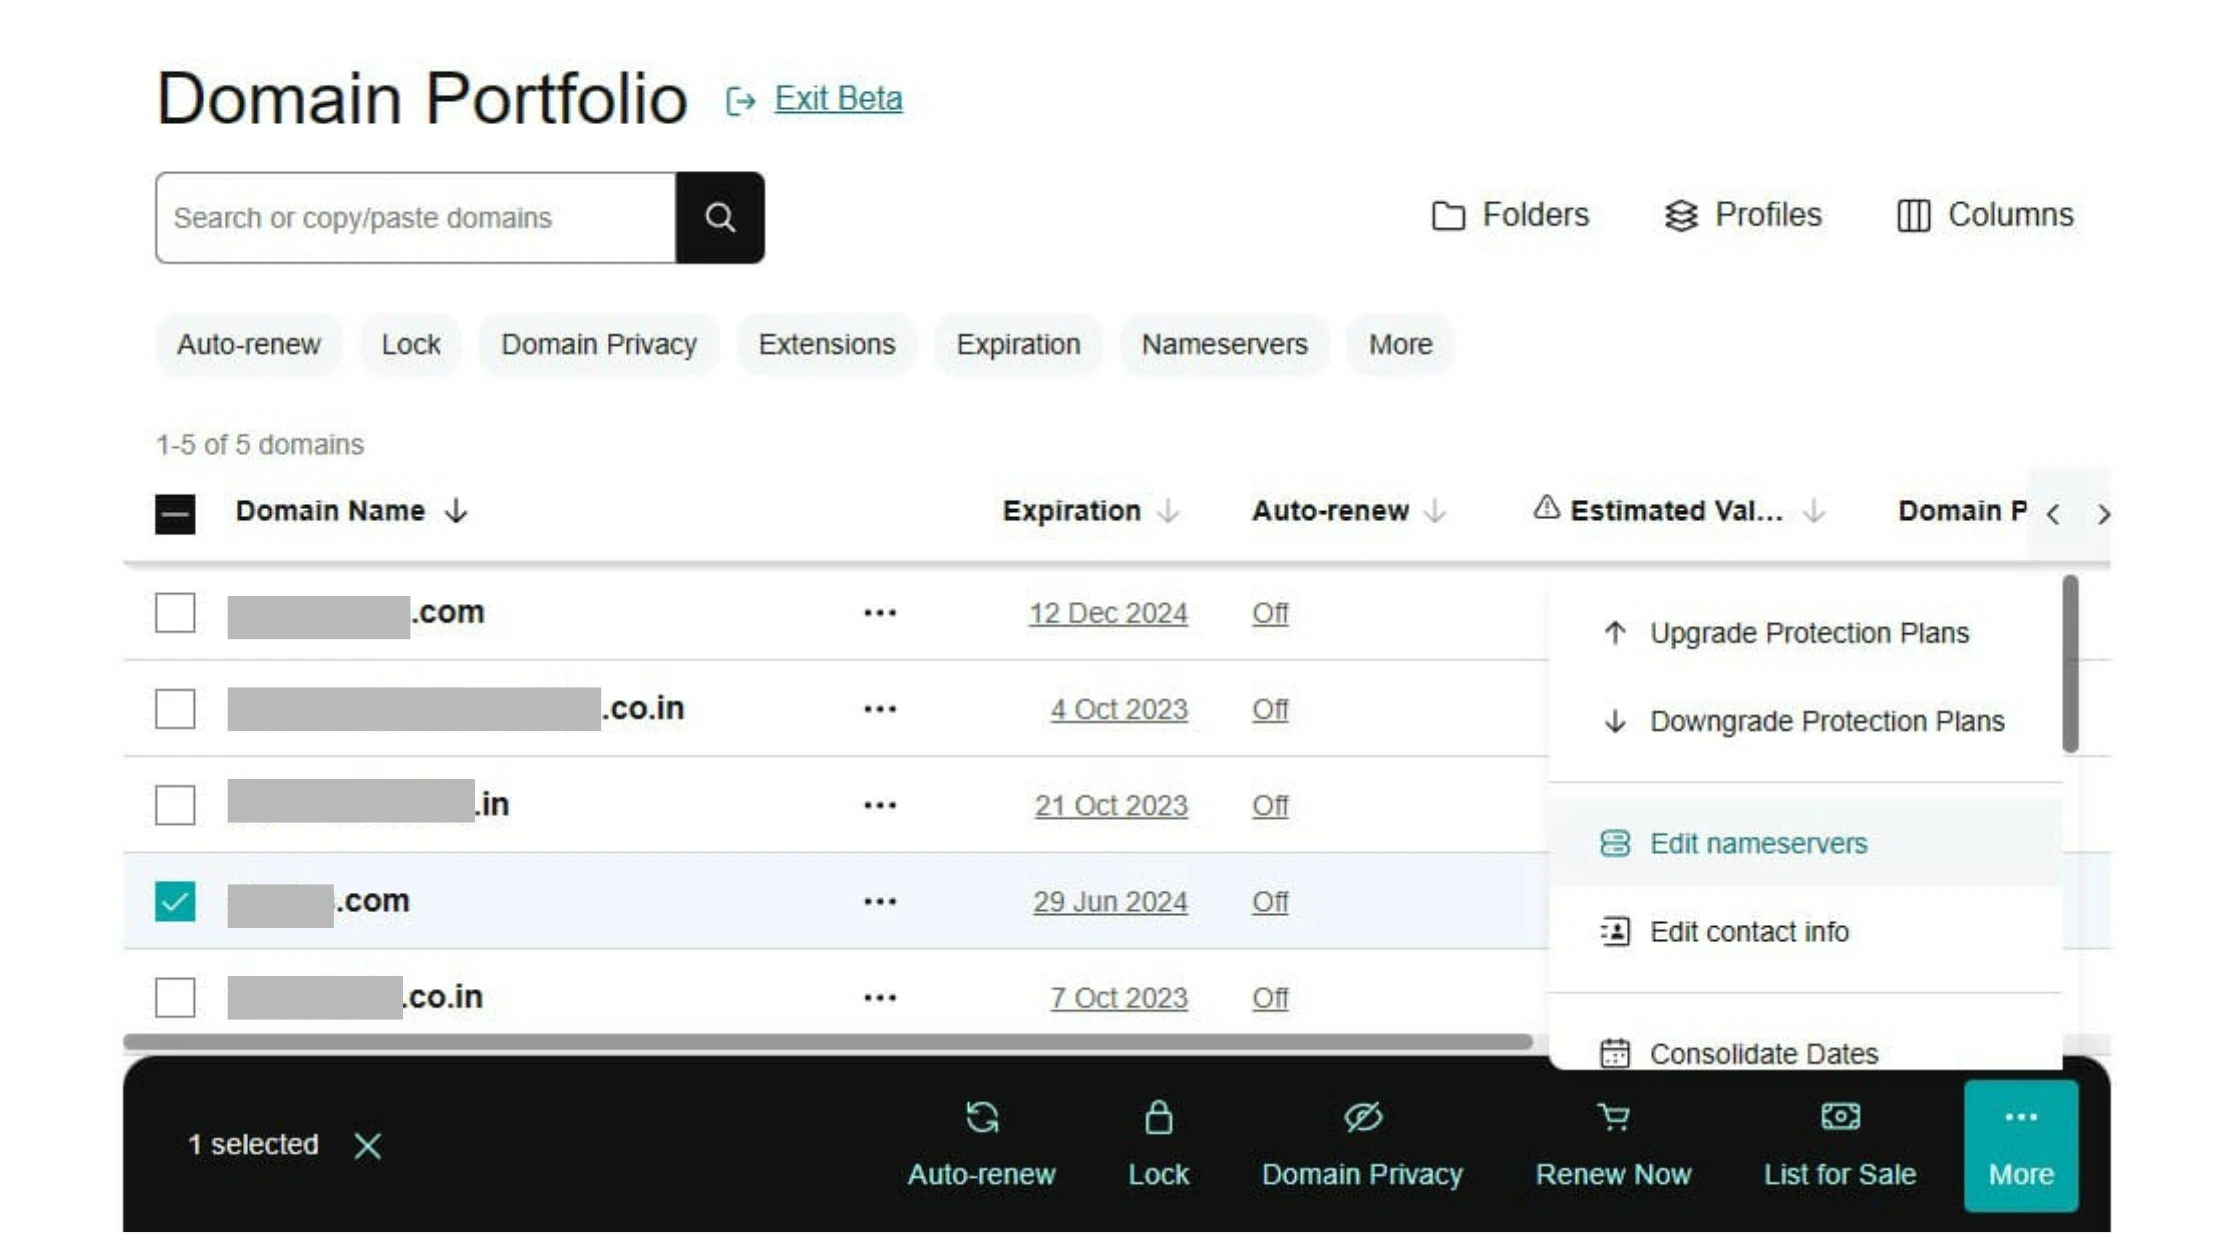
Step 5: Change Nameservers
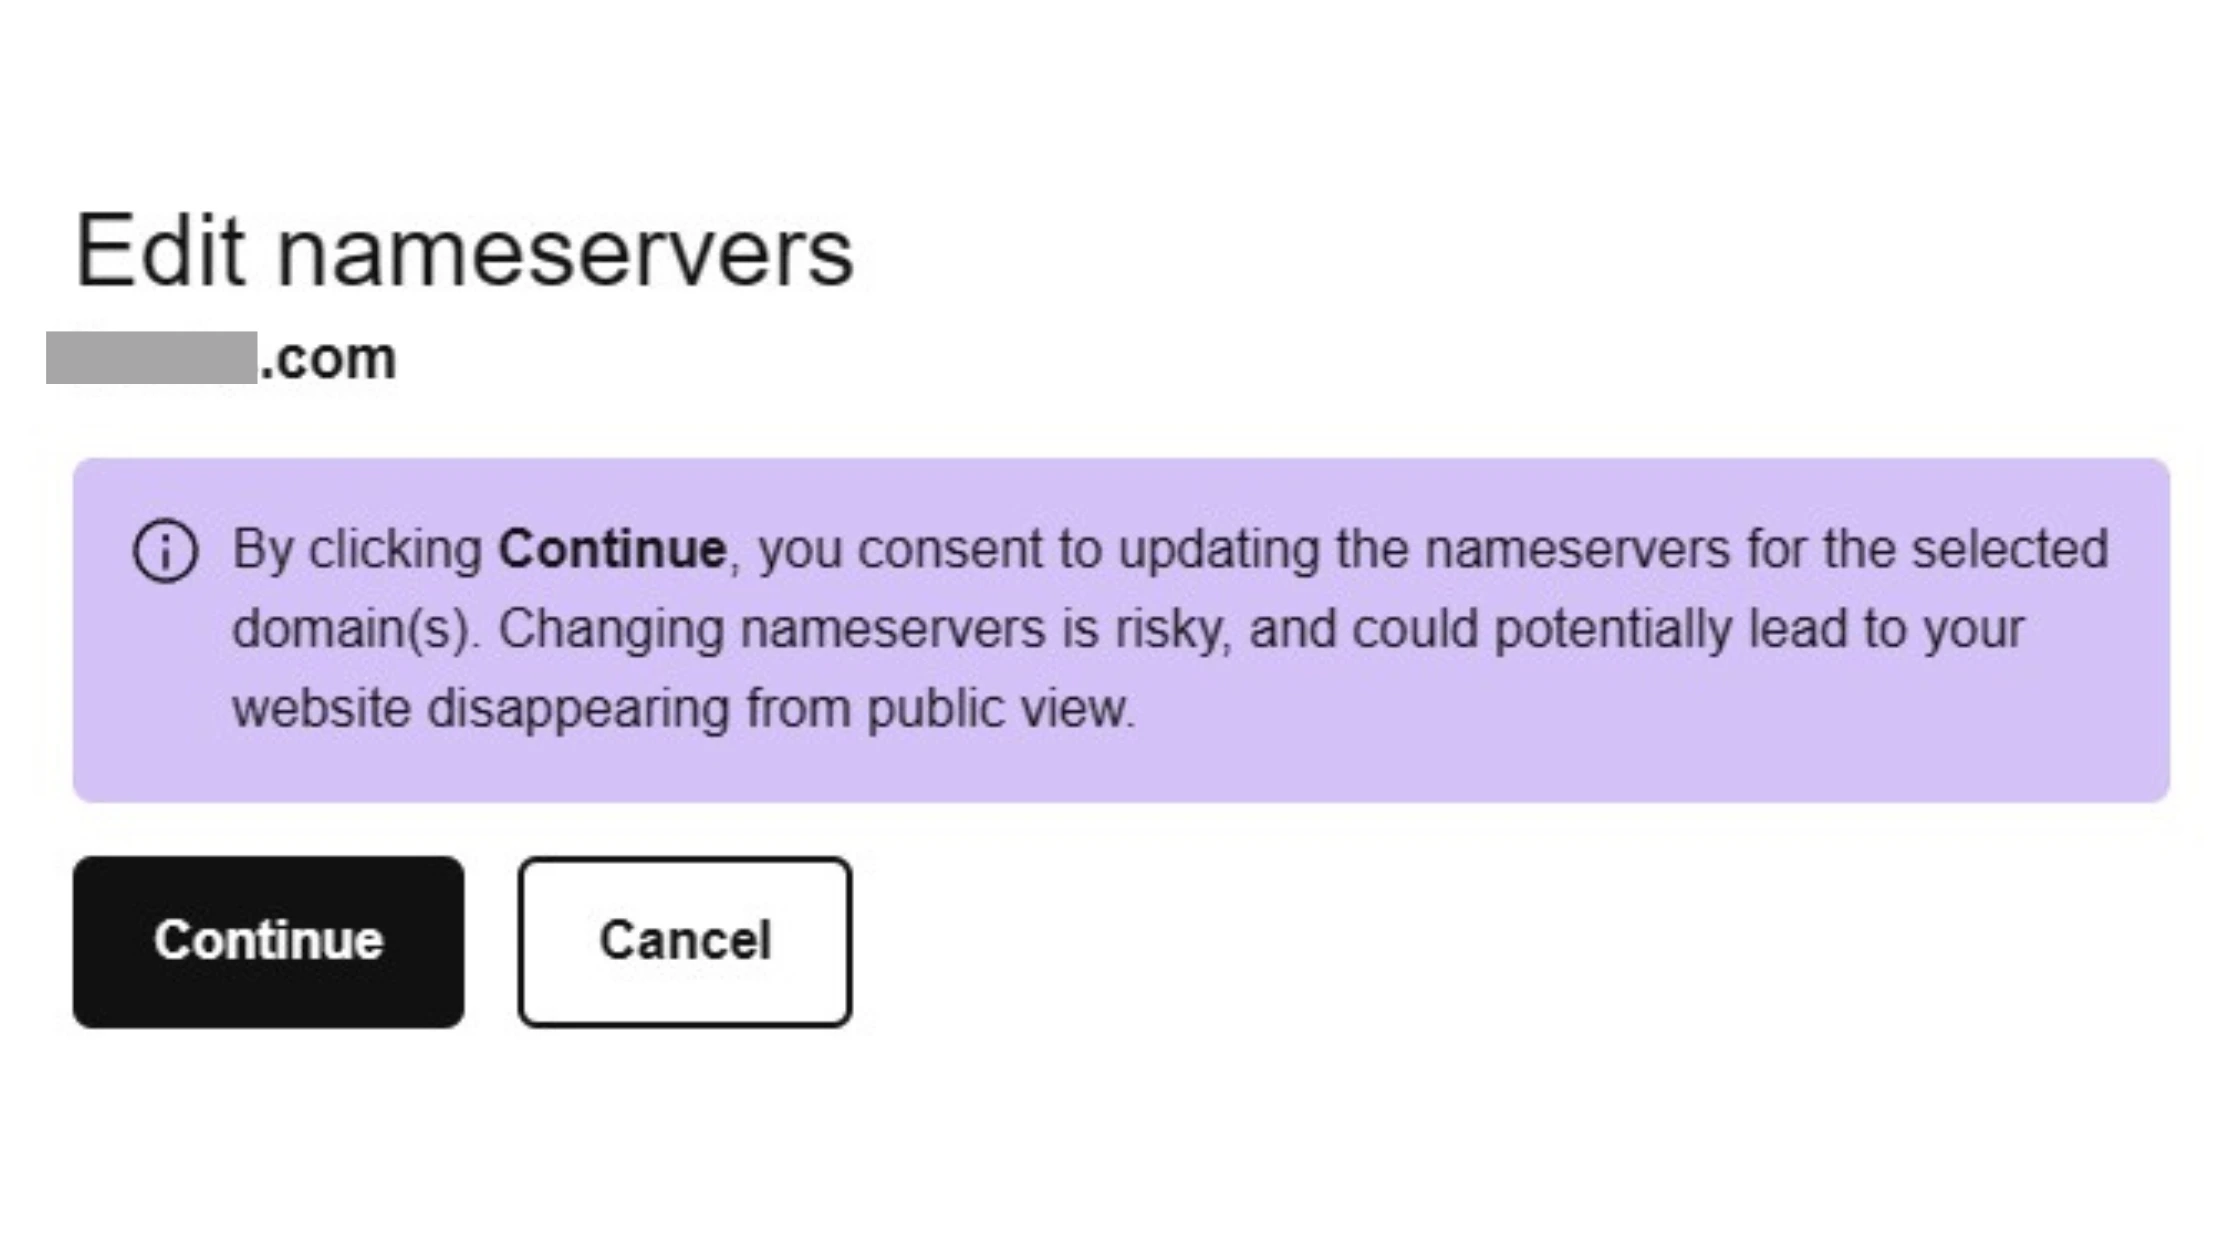
Under the “Nameservers” section, you’ll find a “Change” option. Click on it to proceed. Nameservers are like the translators between your domain and hosting – they make sure they understand each other.
Step 6: Enter Your Own Nameservers
Select the option that says “Enter my own nameservers”. This allows you to manually input the nameservers given to you by your hosting provider. It’s like giving your domain a map to find its way to your hosting account.
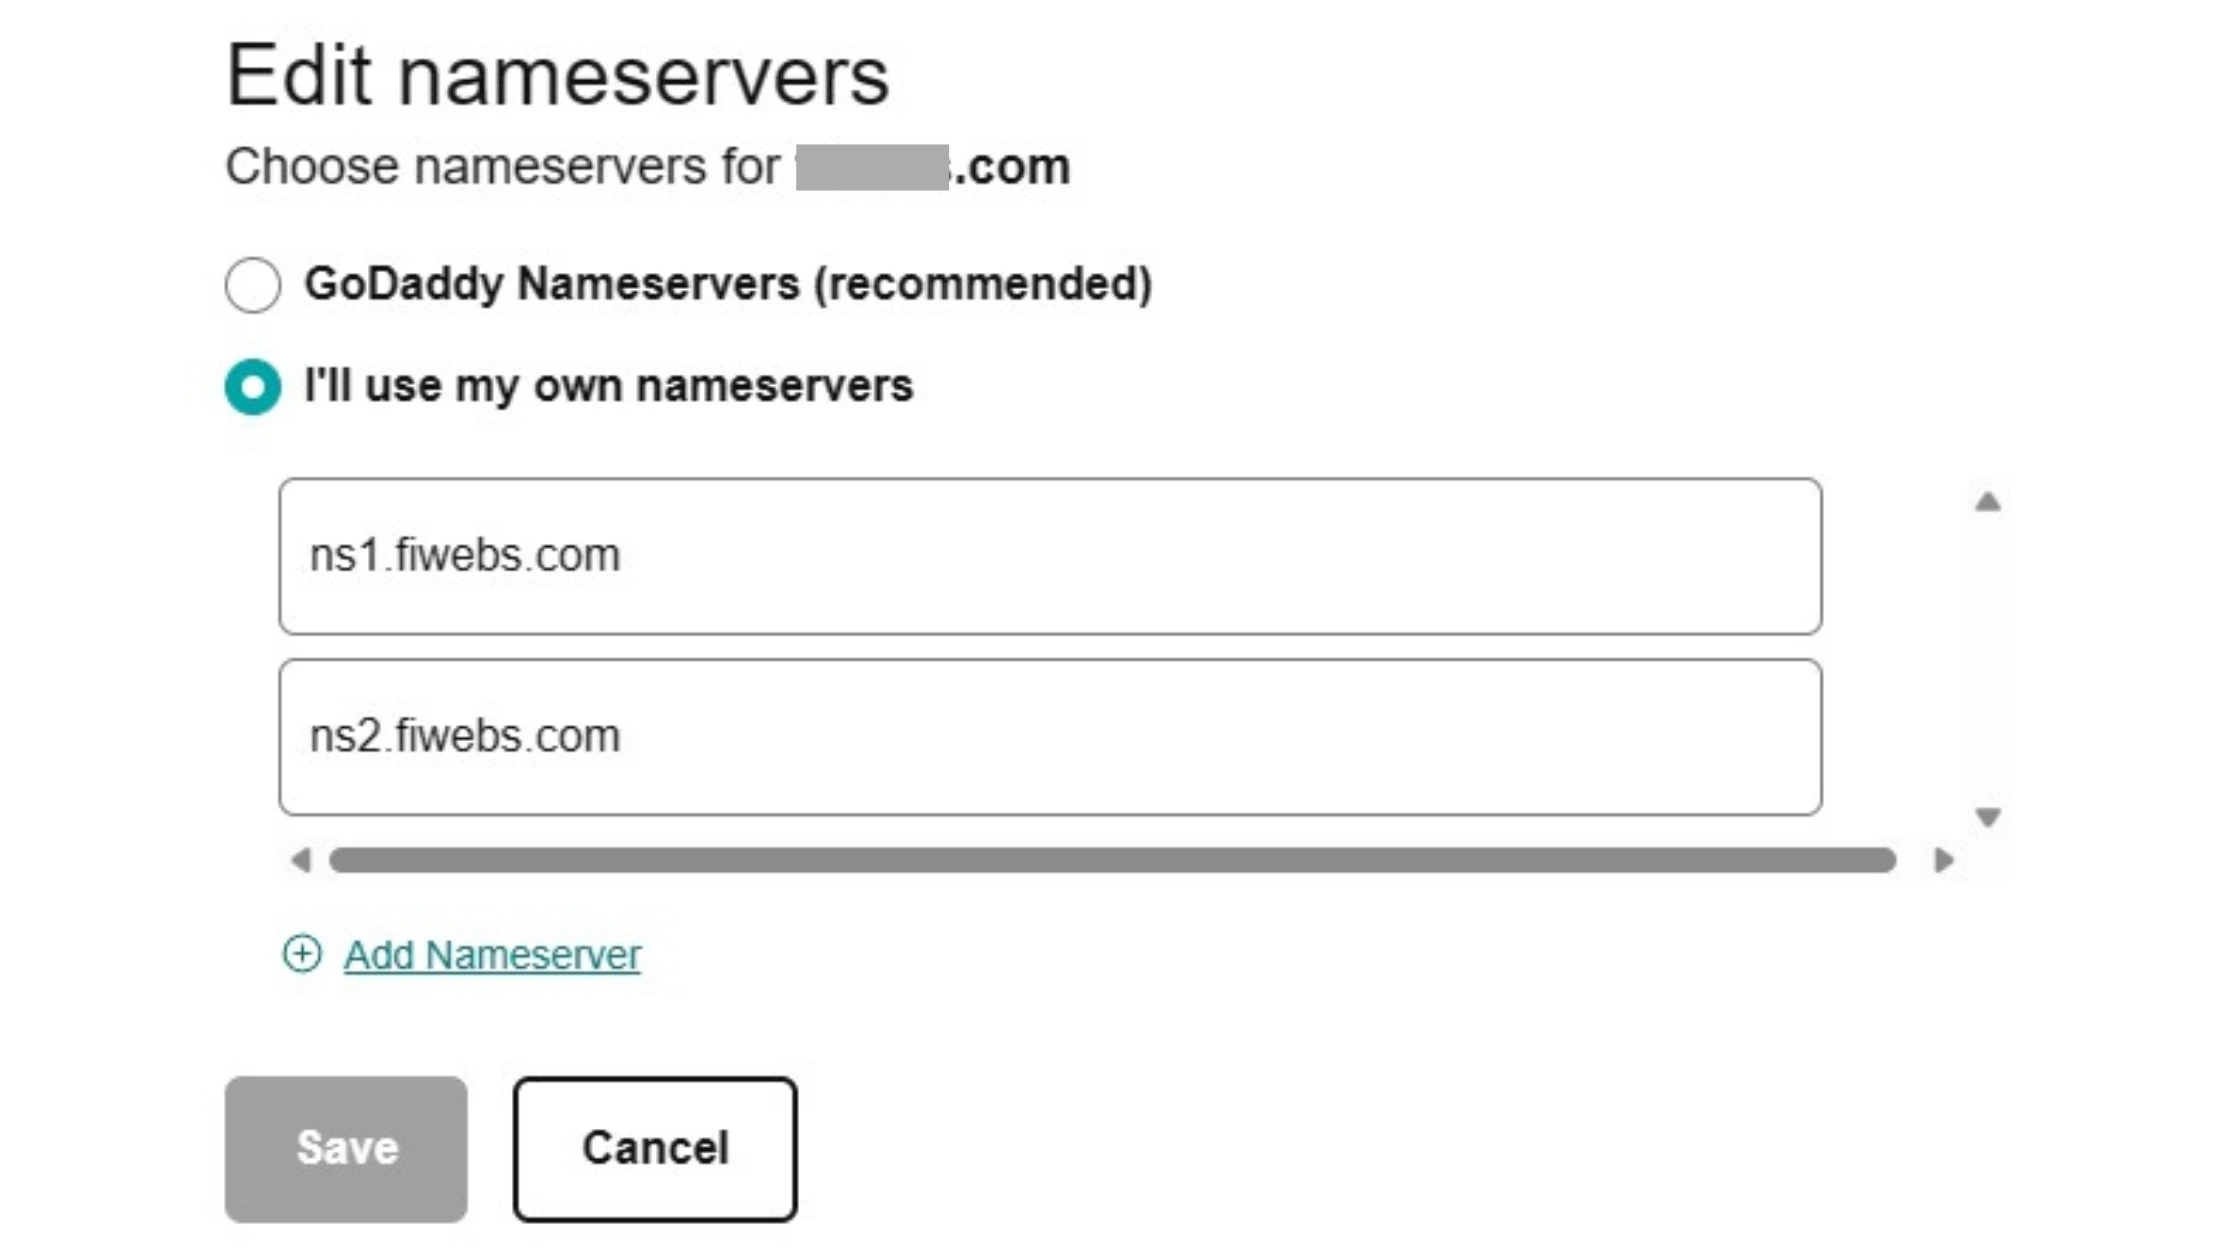
Step 7: Input Nameserver Information
You’ll see boxes where you can input the nameserver details. This is the moment to use the information provided by your hosting provider. Double-check for accuracy – typos could lead to detours.
Step 8: Save Your Changes
Once you’ve got the correct nameserver information plugged in, hit that “Save” button. Your changes are like coordinates guiding your domain to the right online location.
Time to Propagate
Now, here’s the thing: the changes you’ve made won’t take effect instantly. It can take anywhere from 24 to 48 hours for everything to propagate. During this time, your domain will learn the new directions to your hosting.
Your Website Goes Live
After the waiting period, your domain and hosting will be on the same wavelength. Your website will be accessible to the public, and you’ll be one step closer to conquering the online world.
Conclusion
Congratulations! You’ve successfully connected your GoDaddy domain to WordPress or web hosting. By following these steps, you’ve taken a significant stride toward establishing your online presence. Remember that while the process might appear complex, it’s manageable with the right guidance. Your website is now ready to showcase your brand, share your content, and connect with your audience. If you have any questions or face challenges along the way, don’t hesitate to seek assistance from GoDaddy’s support or your chosen hosting provider. If you’re a Softxaa customer we’re more than happy to help.

